In-Ground Trampoline Installation: Simplified
Installing an in-ground trampoline like Capital Play isn’t complicated.
In short:
- dig the pit
- assemble the trampoline kit
- lower it into the pit and backfill
- add the pad
- let the fun begin!
As always, we can to refer you to our partners so you don’t have to lift a finger. And we are just a call or text away if you prefer to have us assemble the trampoline.
That said, you can do it all yourself with a bit of grit and this guide!
First, watch a video on the process. Here is the in-ground trampoline video for the Capital Play round trampoline, and here is the video for the Capital Play rectangular.
Step-by-Step How To Install an In-Ground Trampoline:

Step 1: Identify the Location & Dig the Hole
To start, locate all underground utilities and sprinklers.
Once that is done, mark the perimeter for your trampoline, and add a couple of extra inches. This extra space will be backfilled at the end, and makes placing the assembled trampoline in the pit a bit easier. Be sure to keep some of the excavated soil nearby for this purpose.
Next, dig 10″ of soil across the entire hole. After that is complete, dig an inner hole. The inner hole should be 2 feet smaller in diameter than the size of your trampoline. This creates a ledge for the frame of the trampoline to sit on. The inner hold should be dug in the shape of a bowl, and 40″ deep for a 17×10′, or 36″ deep for the 14′ trampolines.
Obviously, you’ll want to see the full instructions located below.


Step 2: Assemble the Trampoline
To expedite the process, we offer professional in-ground trampoline assembly. Schedule us to come out at the same time or even prior to digging the pit so your project can be finished once the pit is done and you’ve backfilled! Call or text 303-868-9916 for in-ground trampoline installation in Colorado and surrounding states.
Now, to assemble the in-ground trampoline begin by unboxing and organizing the parts. Next, assemble the bottom portion of the frame, followed by the top (17’x10′ only – for the 14’x10′ and round are connected). After that, attach springs to add the jumping surface. Start by adding springs at 12 o’ clock and 6 o’ clock, and then 9 o’ clock and 3 o’ clock. This creates more even tension and makes filling in the remaining springs easier. Last, attach the retaining wall.

Step 3: Set the Trampoline in the Pit
After the trampoline is assembled, lower it into the pit. It should rest on the ledge and be flush with the ground. Now, backfill soil around the trampoline. Compact the soil well to ensure a secure fit. Use the handle of your shovel to compact the soil. After it is backfilled, re-turf the area.

Step 4: Attach & Secure the Vented Pads
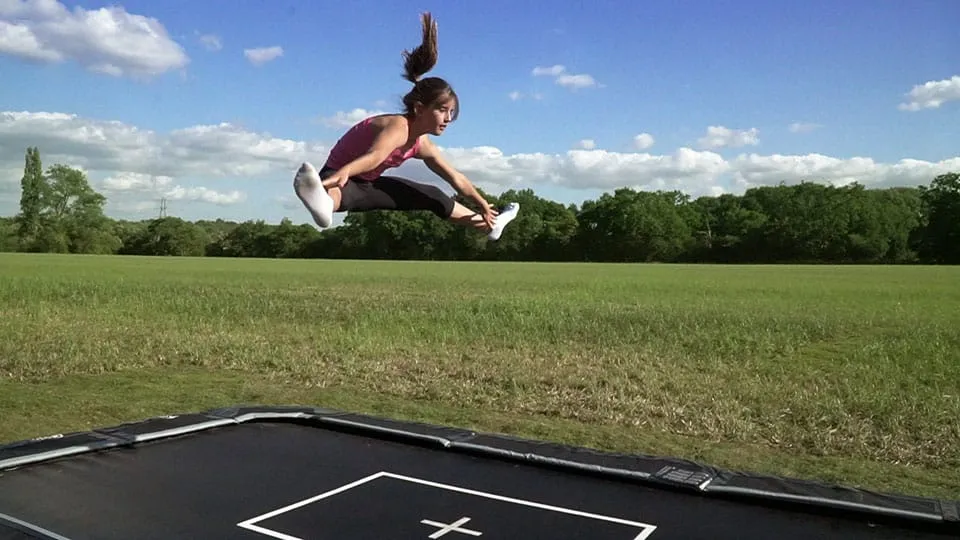
Finally, attach the vented pads (that’s part of what gives this in ground trampoline such a fantastic bounce) to the frame. Push any elastic toggles down by the frame with a long screw driver.
Now all that is left to do is enjoy! The hard work is done and it is time to play.
Click here to order your Capital Play in-ground trampoline. Don’t see what you’re looking for? Call/text us 303-868-9916
Don’t hesitate to reach out if you run into any questions or concerns. Message us here if you prefer email and we will get back to you shortly.

Recent Comments